Content:
General information about the culture
The history of tomatoes goes back several centuries. The first information about this vegetable appeared in the days of the Spanish conquistadors, who, according to historians, brought them to Europe from Peru and Ecuador. There, this culture was cultivated for a long time for decorative purposes and was called "tomatl". In many countries of the world, it received a name consonant with the word "tomato", which is equivalent to the Russian word "tomatoes".
Tomatoes are characterized by relatively long periods from the moment when the first seedling emerged and until the final ripening of the fruit. This drawback did not prevent this crop from becoming the most popular all over the world (at least among vegetable plants).
A characteristic feature of this vegetable can also be attributed to the fact that its seasonal cultivation is organized by planting young shoots, which at first are rather underdeveloped and practically helpless.
That is why hardening tomato seedlings at what temperature it is carried out in a home environment is one of the most important provisions of an agricultural culture, which should be given close attention. Let's consider everything related to hardening in more detail (including a step-by-step plan for carrying out the corresponding procedures).
Why do you need hardening
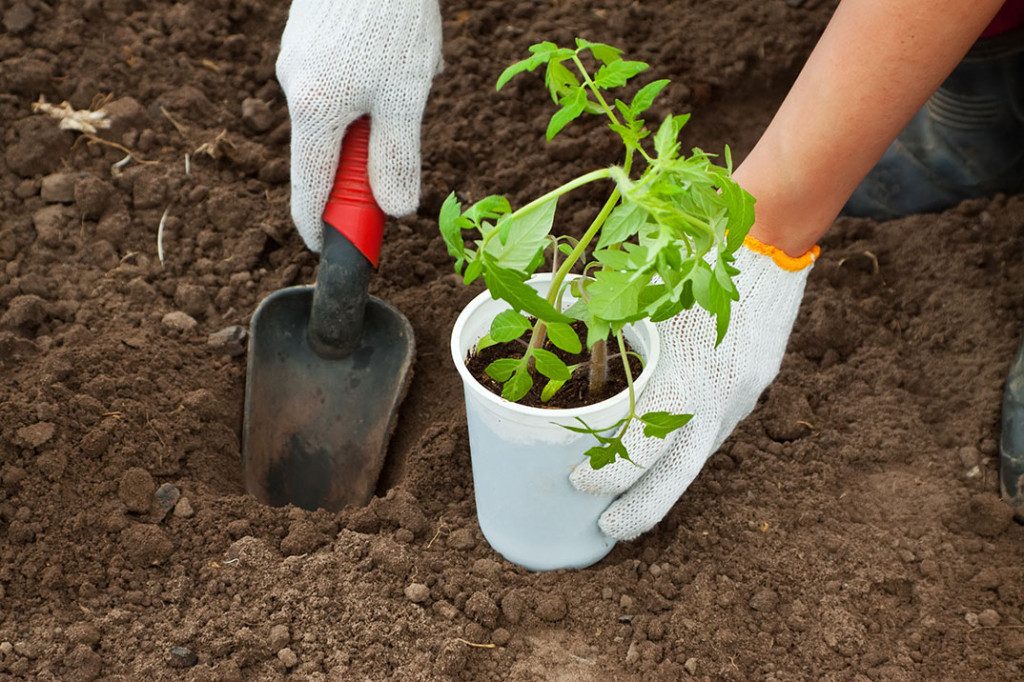
Most gardeners know that hardening tomato seedlings is a must in order to prevent the stress that youngsters may experience when transplanted into the ground. This effect arises as a result of the renewal of the entire environment surrounding the not yet hardened sprout, since it gets not only in a different climate, but also in a different soil.
To adapt to the renewed conditions, its roots need some time, that is, the plant must get used to all this gradually. To fully understand the goals of "training" any culture, it is important to understand the intricacies and details of the process itself called "hardening". All these nuances can be reduced to a list of the following main problems:
- What are the features of seedling preparation;
- What air temperature is chosen to obtain the maximum effect;
- The influence of the tomato variety on the nature of the process itself;
- How to harden tomato seedlings at home.
Let's explore each of these points in more detail. Along the way, we will consider the procedure for hardening tomato seedlings together with a pepper culture similar to them.
Preparing to change conditions
In the case when a window sill or a greenhouse was chosen as a place for preliminary keeping of tomato sprouts, moving it to a new place means a sharp change in climate and the possibility of drafts affecting the growth of the plant, for example. That is why preparing him for transplanting means, first of all, "training" for the transition to a new temperature regime and getting used to the still dangerous drafts.
The consequence of this effect observed when transplanting into the ground (in combination with other threats) is either the gradual death of green shoots, or their prolonged illness.
The so-called "hardening" is precisely to exclude a sharp transition from the usual habitat conditions to a completely unsuitable environment for seedlings.
Different varieties of tomatoes can be hardened according to very different, significantly differing from one another, schemes that take into account the characteristics of this type. All data on the specified procedure may contain instructions attached to a packet of seeds, as well as special information sheets distributed by subscription on the Internet.
An analysis of this topic showed that the best hardening is the tomato variety that is intended for early planting in the soil and is distinguished (according to its description) by increased frost resistance.
Types of seed hardening
Before hardening tomato seedlings, you should understand the existing methods for preparing the seeds themselves. Let's start their consideration withthat the correct approach to home germination involves the use of material 2 or even 3 years old. If only fresh “seed fund” is available, it is desirable to artificially “age” it with simultaneous hardening.
For this purpose, the seeds are first poured into a clean canvas bag and placed in a warm and dark place for 2-3 weeks.
Just before planting, the seed is hardened by creating a temperature difference, which means keeping it for 120 minutes in hot water, followed by dipping it for 2-3 minutes in cold water.
There is a more effective, albeit relatively complex, method for hardening tomato seeds, the essence of which is as follows:
- In a not very deep bowl, first a piece of clean and soft cloth is placed, the width of which is equal to the diameter of the vessel, and the length is twice it;
- Then tomato seeds are poured onto the fabric, which are carefully leveled with a thin layer;
- Further, this fabric is bent so that one of its half completely covers the seeds, after they are poured with water to a mark of about 1-1.5 cm;
- In this state, the soaked material is kept at home temperature for about a day, after which it is placed in the refrigerator for the same time.
The hardening cycle described above is repeated twice with simultaneous control of the temperature in the refrigerator (it should be at about 2 degrees).
There is another known method of home hardening of seeds, somewhat similar to the one discussed above. In this case, they are also poured into a bag, which is then placed in a liter mug or in a deep bowl. The selected container with seeds is sprinkled on top with snow or ice from the refrigerator and left on the windowsill. After the contents of the bowl have melted, the water is drained and the procedure is repeated again (upon completion, the hardened seeds can be planted on the garden bed).
Tempering seedlings outside the home
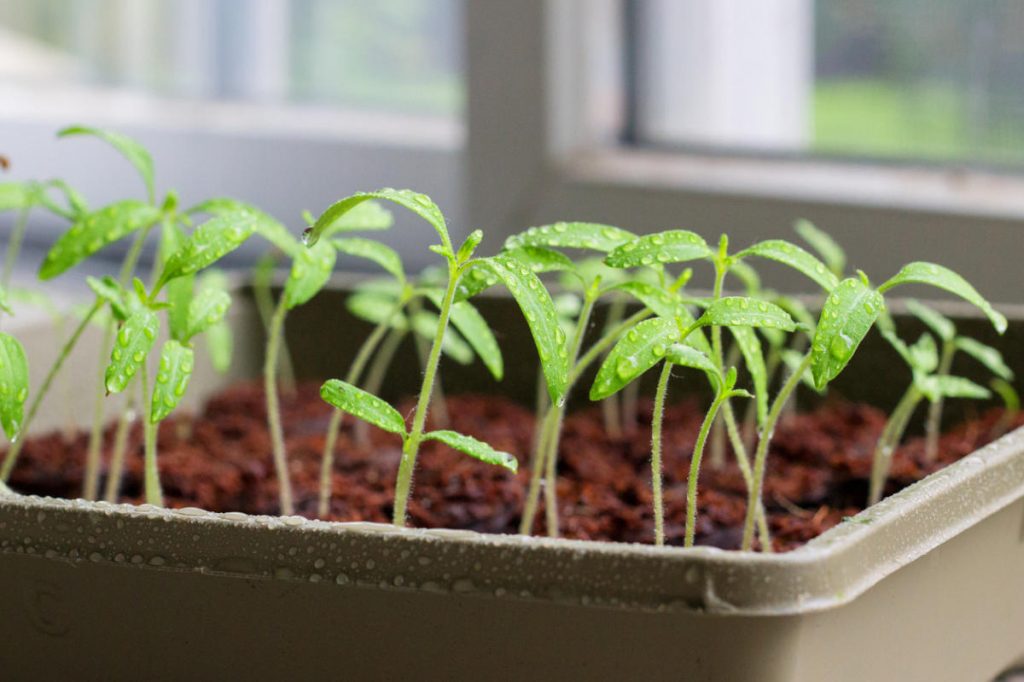
Like the human body, young growth needs systematic and gradual hardening. To regulate the temperature in the place where the boxes with the sown seeds are kept, you should start approximately 5 days after the first shoots hatch from the hardened grains. In case of violation of this rule, the sprouts will quickly stretch upward and may simply "outgrow" their norm.
Usually, this procedure is started somewhere 1.5-2 weeks before planting seedlings in unprotected beds or a greenhouse. All these actions are recommended to be carried out in the following order:
- First of all, about 6-7 days before the start of hardening, tomato seedlings completely stop watering, and then they are taken out of a warm room into a room where the temperature is much lower;
- In these first times, small shoots in the boxes are taken out about 2-3 hours after sunrise, while the temperature outside the house rises slightly above 10 degrees, and in the evening they are brought back into the apartment;
- For each subsequent day, the duration of stay outside the premises is increased by approximately 2-3 hours;
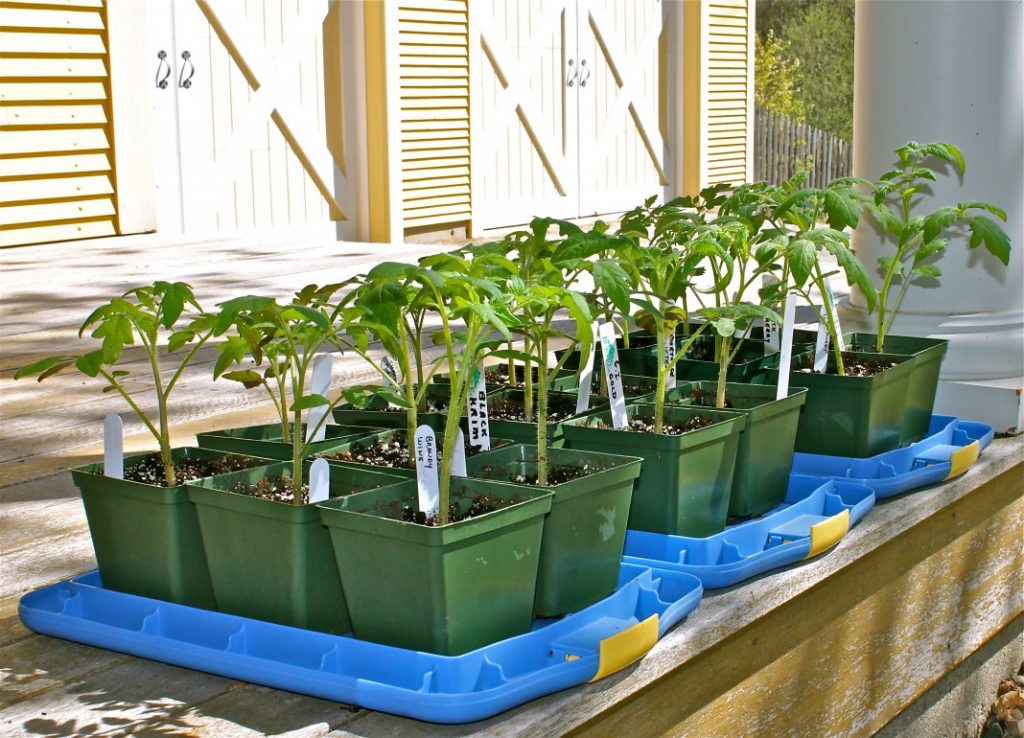
- 5-6 days after the start of these procedures, tomato seedlings begin to be taken out directly to the street (in an apartment - to a loggia or balcony with open windows);
- The time spent outside the home for the first time can be limited to 1-2 hours;
- On the second day, this period should be increased to 3-4 hours, on the third - up to 7-8; on the fourth day, it is left in the fresh air for almost the whole day.
Somewhere about 3-4 days before disembarkation, subject to favorable (not very frosty) weather, pots or boxes with young seedlings are not brought into the house at all, leaving them on the street all night. This procedure should be repeated up to three times in a row or more. It is very dangerous to transfer seedlings to unprotected beds, which were "trained" to stay outside the home for less than 3 days (she can get sick in an elementary way).
If there are many windy days in the area, it is recommended to use the wind for hardening. This method should be used as an exception when bad weather precludes practicing traditional treatments.
Regardless of which hardening method is chosen for a given tomato variety, throughout this process, you should carefully observe the behavior of young sprouts, reacting to the slightest changes in their condition. It is especially important to do this on the very first day, that is, at a time when it is almost impossible to predict the reaction of the overgrown to a sharp change in the situation.
If you find the slightest deviations in its appearance (if it begins to wither or turn pale, for example), the containers with seedlings should be immediately returned to the environment familiar to development. It will be possible to continue hardening only after the sprouts gradually recover (heal).
Pepper hardening
This section briefly discusses the issue of hardening seedlings of the crop accompanying tomatoes - pepper. Young shoots of this vegetable, before planting in a greenhouse with tomatoes, are taken harden in the street... It is recommended to start this procedure about a month before the specific date for which the planting in the soil in the garden is scheduled.
To do this, for a certain time, stretched for almost 10 days, it will be necessary to take out containers with seedlings outside, leaving them in the shade for the day, and bring them back to a warm room closer to night.
In the event that the temperature outside the house is below 15 degrees, and there is a strong wind, it is advisable to keep the seedlings on the balcony during the day (or open a window in the room, without creating strong drafts). This procedure will help her quickly get used to the conditions outside the building, which can be controlled by the color of the leaves (they should have a bright green tint).
By the time of planting on the beds, well-hardened peppers should have about 10 small leaves.
Features of hardening in the house
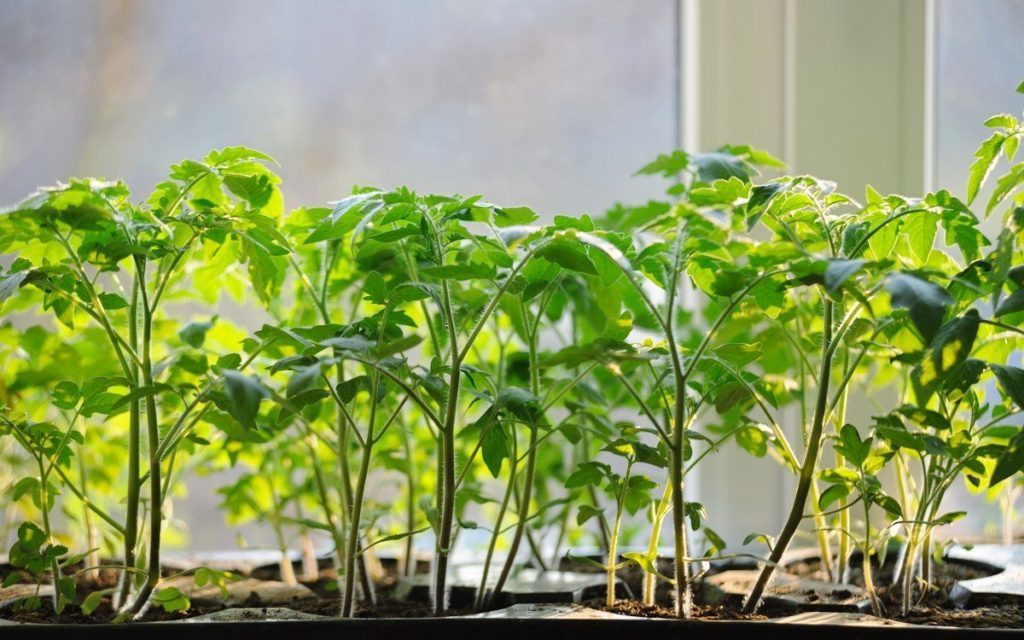
In order to harden the seedlings at home (to prepare them for outdoor hardening), a strictly fixed low temperature should be maintained in living rooms.In the first week of growth, it should not exceed 13-16 degrees during the day, and about 11-13 degrees at night.
To maintain the specified regime when hardening tomatoes at home, it is recommended to take out the boxes with seedlings to the balcony or to a well-ventilated loggia.
In the future, before starting to temper it on the street, the temperature in the apartment or on the balcony should be raised to 18-22 degrees during the day, and up to 17-18 degrees at night. After the sprouts have the first full-fledged leaflet, the night temperature must again be lowered to 10-13 degrees.
Further, up to a noticeable growth of greenery, it is undesirable to change the mode of its content (each seedling should be controlled separately). About a week before the expected transfer to the soil, the night temperature drops very slowly (about 3-4 days before this, it should equal the street value).
In the concluding part of the review, we note that the daily temperature should be reduced in the same way, but only slightly more slowly. The seedlings should finally harden at home no earlier than 14 days and no later than 10 days before disembarking in the garden.
