Growing common garlic is not the most difficult job. It is no secret that winter and spring plants should be planted in different ways. Many summer residents are interested in how to grow garlic. The main thing is that the composition of the soil must be carefully considered. This vegetable prefers fertile sandy or loamy soil. Ideally, the acidity is close to neutral.
Agrotechnics
Garlic, in addition to nutritious soil, is very picky about lighting. It is customary to grow this vegetable on a separate bed on the sunny side of the site. If the area does not allow this, you can place the garlic between other plants. It is important to be sure that the neighborhood will not harm either one or the other. It is beneficial to plant garlic next to such species:
- Strawberries;
- Bow;
- Cucumbers;
- Potatoes;
- Raspberries;
- Gooseberry;
- Black currant;
- Rose flower;
- Tulip;
- Gladiolus.
The fact is that garlic repels many pests that these plants are afraid of. In particular, caterpillars, slugs and even moles cannot tolerate it.
For cabbage and legumes, the proximity to garlic can be detrimental. Although they work great as precursors, just like pumpkin. Therefore, if the question arises, after which to plant garlic, then it is best to choose these vegetables.
As for humidity, you need to know when to stop, otherwise you can ruin the plant. From over-watering, the garlic will simply start to rot right in the garden. There are a few things to understand to figure out how to grow garlic.
Reproduction of garlic
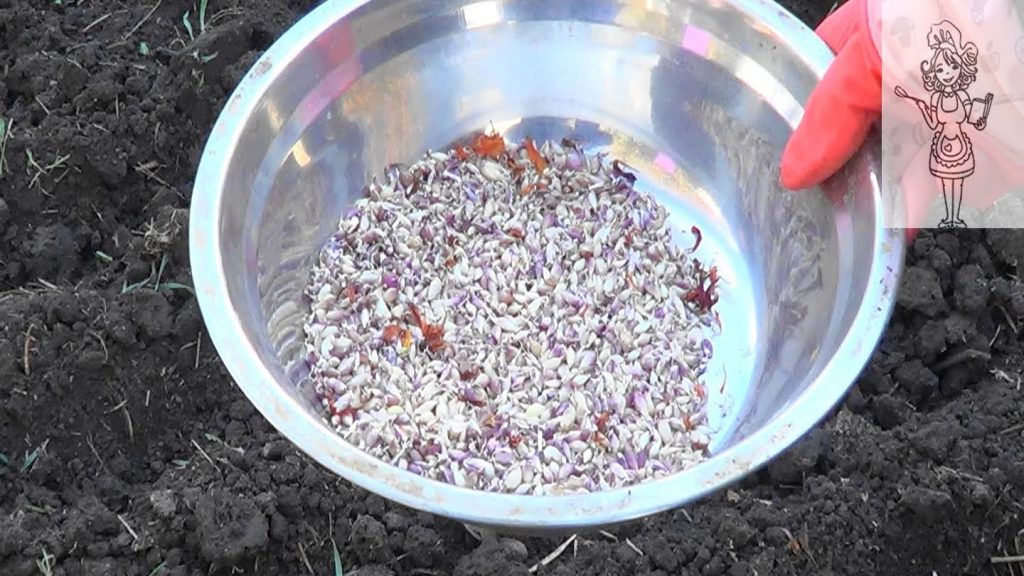
Growing garlic outdoors is the most common. This plant differs in that it does not form seeds. It reproduces vegetatively. That is, they sow cloves of bulbs or inflorescences. The first method is to propagate spring garlic, the second - winter garlic. How both types of garlic grow is recommended to be considered separately.
To get a familiar family bulb from a small clove of a bulb, you need to wait 2 years. In the first year, an onion is usually obtained from one clove, the so-called solo garlic. And in the second year many teeth grow out of it.
Basically, all gardeners prefer to receive the latter option immediately in the year of planting. For a good harvest, the variety is renewed and fertilizers are applied to the soil, making it healthy. Before landing, you definitely need to make a number of manipulations:
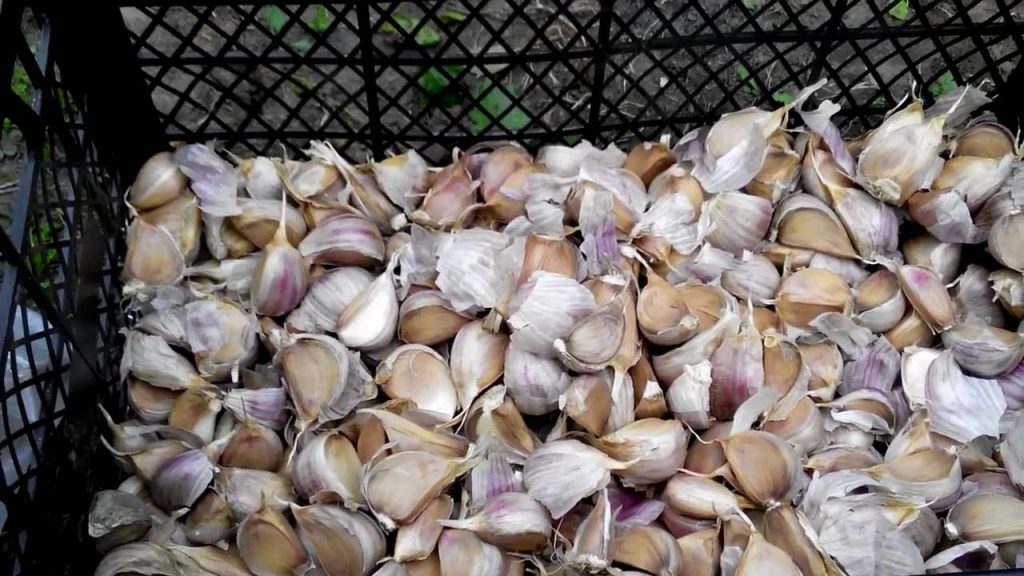
- Sort the teeth. You should choose large and dense, with a solid shell. Small, sick, twinned, etc. rejected;
- The planting material must be disinfected. Ash works best. You need to mix it with water (about half a kilogram per 2 liters) and boil for 30 minutes. When the product has cooled down, dip the teeth into it and keep for 2 hours;
- For faster growth, spring garlic can be germinated in advance.
Wrap in a dampened cloth and wrap in plastic. Set aside in a dark place at room temperature for 3 days.
This method is widespread in the Moscow region. Gardeners place seedlings on a balcony, in an apartment, at home on a windowsill, or immediately take them to their dacha. This homemade garlic does well too.
Sowing with seeds
Garlic cannot be propagated by seeds. Therefore, it is worth paying closer attention to the differences between the cultivation of spring and winter types.
For example, it is customary to plant spring crops in April-May, when the snow melts and the air temperature warms up to +6 degrees. It is important that the soil is moist enough.If it has time to dry out, it should be watered.
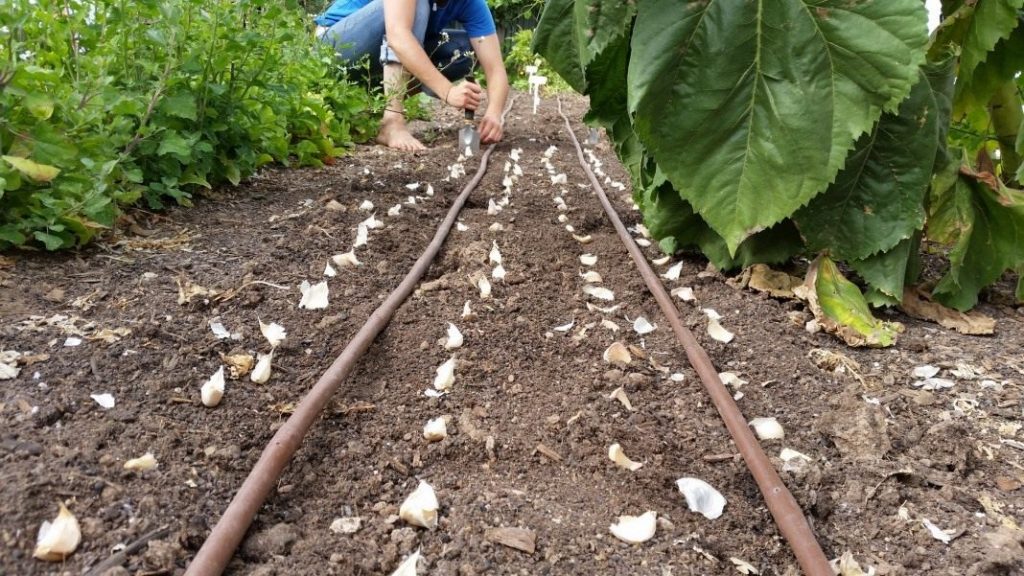
The teeth are lowered into the ground about 5 cm deep. It all depends on the height of the planting material itself. The depth should be on a 2: 1 scale. It is better to place the rows 20 cm apart, and the planting material - 9 cm.
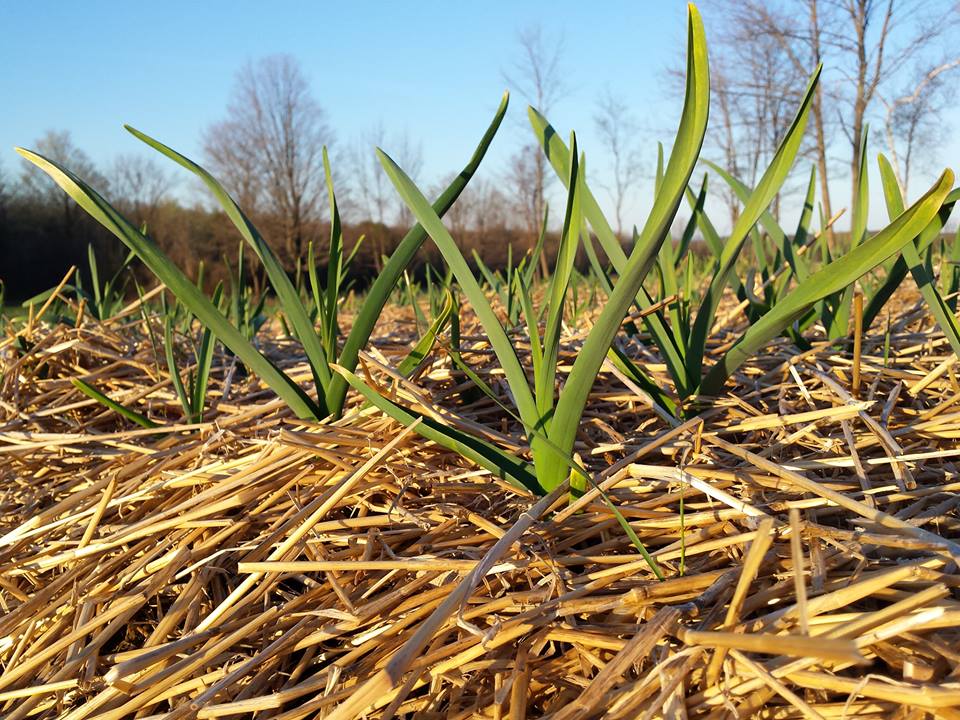
Be very careful when planting sprouted cloves. Fragile roots are easy to damage. Immediately after all the garlic is planted, it is advisable to mulch the soil.
It doesn't take much garlic to ascend. Already at + 4 ° C, he will feel comfortable without fear of frost. But at each stage of development, the plant needs a special temperature regime:
- at the beginning of growth, + 4 ° C is sufficient;
- when the bulbs begin to form - + 17 ° С;
- at the time of ripening -… + 25 ° C.
Thus, the mulch should be chosen in light colors so as not to overheat the garlic. He doesn't need a greenhouse.
As for winter garlic, it has to be grown a little differently. First, the planting should be planned for early fall. Moreover, it is important not to miscalculate - after all, if you are a little late, the teeth may not have time to take root. If planted too early, they will sprout quickly and suffer from frost damage. Secondly, the soil is prepared in advance, allowing the earth to settle a little. Then, so that the teeth do not rot, they should be protected from direct contact with the soil. To do this, grooves are made in the garden bed and sand or ash is poured into them, 2 cm thick.The distance between the rows should be left up to 20 cm, between the teeth - 12 cm.The depth here is much deeper, about 10-15 cm, to protect the plant from the cold ...
Be sure to mulch. Why? When winter garlic sprouts, usually there is no snow yet, and the sprout needs a warm cushion. Peat or sawdust works well for this role. If the winter is snowless, cover the sprouts with plastic or other dense material so that the roots do not freeze. When the snow falls, you can open the sprouts. Thick mulching will also be effective.
Winter garlic tolerates harsh cold weather, it can withstand up to -20 ° C. It is by this method, for example, in Siberia, that a perennial hybrid is usually grown.
Culture care
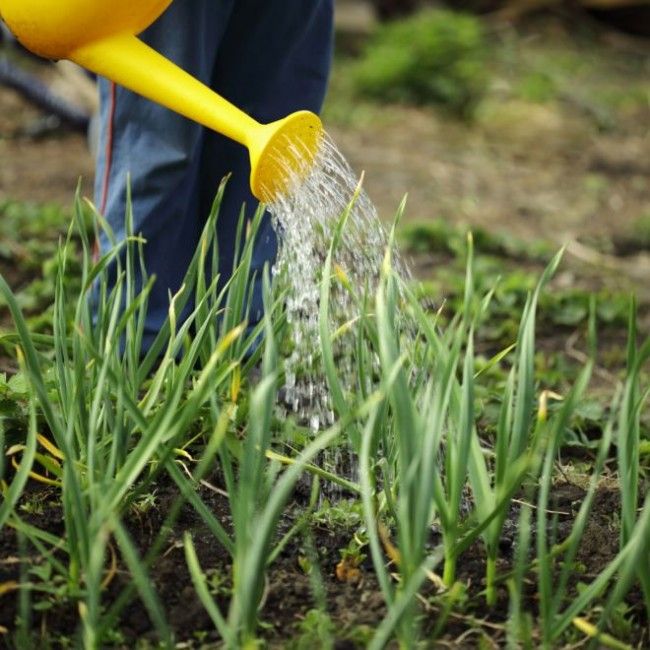
No plant will yield a rich harvest if it is not cared for. Garlic is no exception. Watering is one of the most important factors. It needs to be properly organized. While garlic is actively growing, it needs a lot of moisture. When the bulbs are ripe, less water will be needed. If it rains in the region, then watering should be stopped altogether.
Usually, fertilizing is carried out twice per season: in the spring with cow or bird droppings and at the beginning of summer with wood ash. In addition, the vegetable will be grateful if the area is often loosened and weeded.
So it is customary to take care of both spring and winter garlic. For the latter, only one difference is characteristic - the removal of arrows. Plants planted for the winter are usually more susceptible to shooting. When the process reaches 10 cm, it is better to get rid of it. But if you want to get several fruiting inflorescences, then a small number of arrows should be left.
How to harvest
Probably the most important thing in the garden is harvesting. But not everyone knows exactly when to harvest garlic. It all depends on the ripeness of the cloves. If you dig them up earlier, they will be too soft. Although with proper drying, they can still ripen. If harvested later, you may experience re-growth, which is undesirable for storage.
Experienced gardeners know that harvesting times also differ, depending on the type of garlic. It is necessary to judge the ripeness of the winter and summer varieties according to certain criteria. For the latter:
- Yellowed greens and dry undergrowths (mostly when the arrows have already been cut off);
- If there are arrows, then you need to look at the state of the inflorescences. When the outer shell bursts, exposing small teeth, it will be possible to harvest;
- Strong lilac scales on a bulb.
For winter garlic:
- Leaves and stems have died;
- The root collar is dry;
- The head of the bulb is well formed, the denticles are visible;
- The scales are dry.
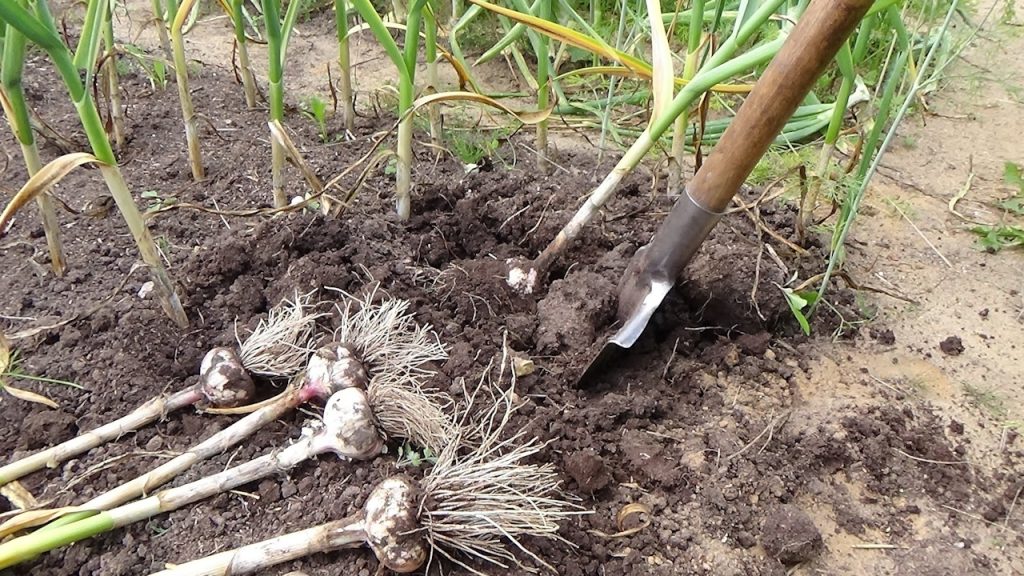
Many people have a question: "If the planting dates are so different, then when to dig out the garlic planted before the winter, and when the spring?" In fact, there is practically no difference. The optimal time is late July or early August. Harvesting is best on a clear day. First you need to cut the arrows and dig in the soil a little. Then remove the bulbs and gently shake off the soil. Then you can lay them out in the sun to dry. It is important to do this carefully. From a strong impact on the teeth, dents and cracks can form. This garlic won't last long. It is advisable to dry for several days, interrupting only at night.
When there is a long drought, it is recommended to slightly moisten the soil before digging, otherwise you can damage the roots and the bottom bottom of the garlic.
After preliminary drying, the vegetable should be placed in a ventilated area for 3 weeks for final drying. Then you need to remove all the stems and roots without harming the head.
If done correctly, the garlic will last well until the next harvest. Large bulbs are best, therefore small ones are recommended to be used first of all, although garlic, planting and caring for which was carried out correctly, almost does not deteriorate.
Now even the most inexperienced summer resident knows how to grow good garlic, what technology is needed for this, and how much effort will have to be made. Do not forget after which crops you can plant garlic. Compliance with these simple conditions will make every year fruitful.
