Content:
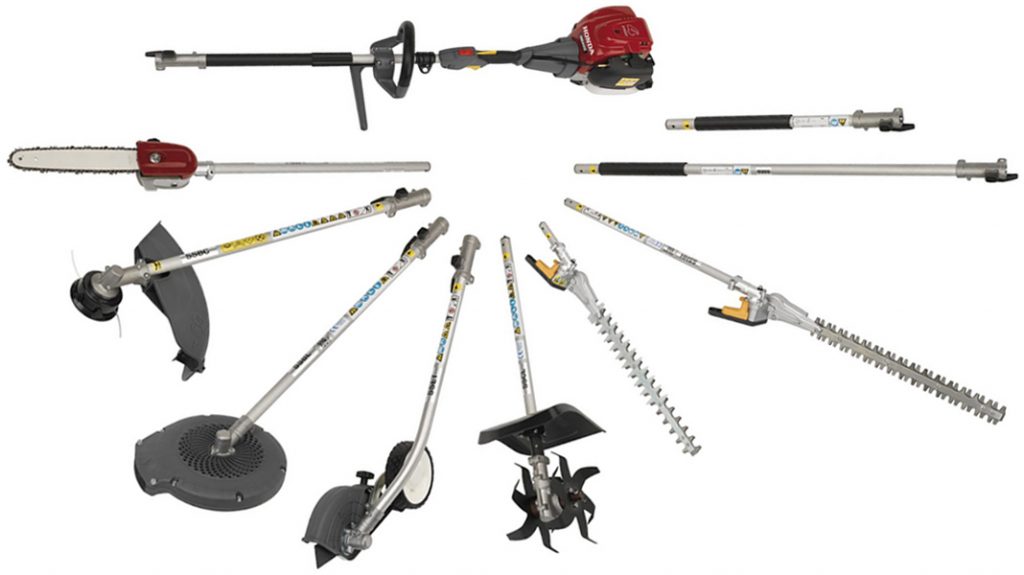
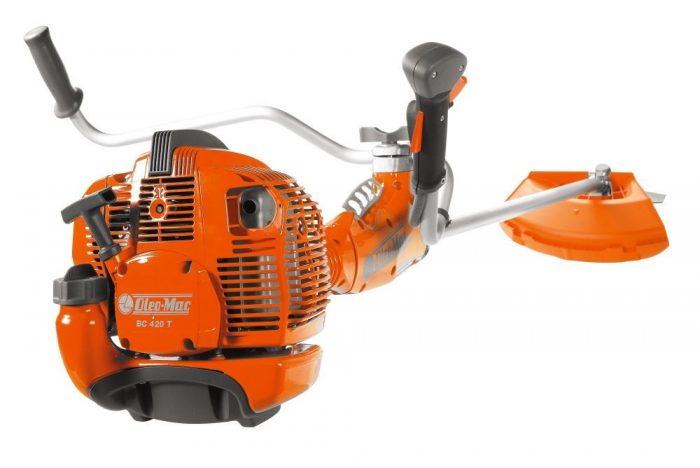
The industry offers many different optional trimmer attachments to make gardening easier. This can be a blower, shredder, brush cutter, cultivator, and others. This article will focus on the cultivator attachment.
Cultivator attachment
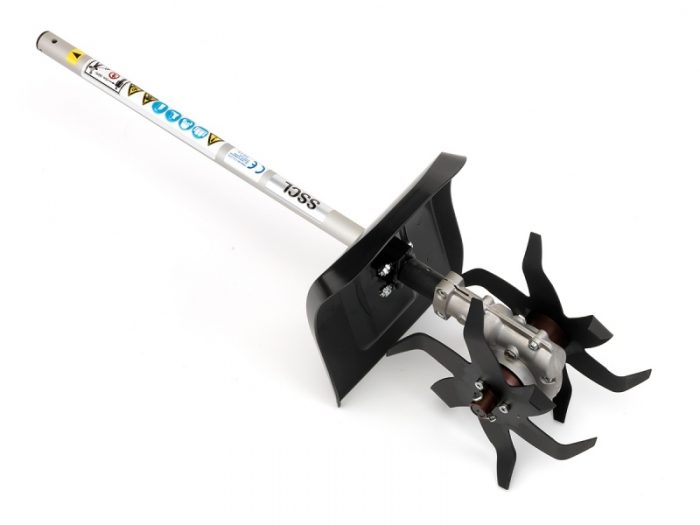
The petrol trimmer cultivator attachment is used to loosen the soil in small areas such as a flower bed, greenhouse or around bushes and trees. The tool can be:
- Serrated, with cutters located on both sides of the drive shaft.
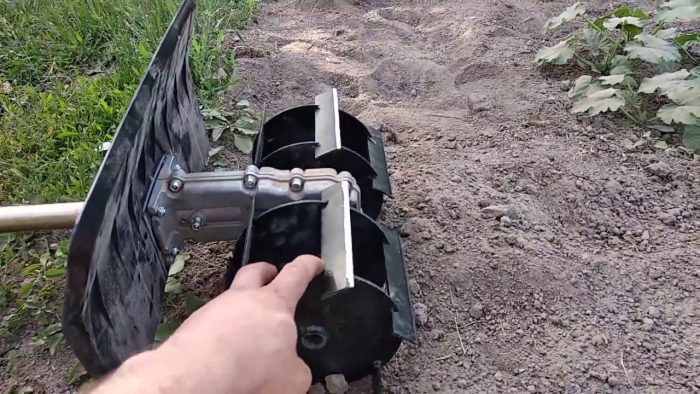
- Disk, when cutting discs are used instead of a cutter.
The difference in these two nodes is only in their design and names, the essence of the work performed is the same for them - to loosen the earth.
Such a nozzle works from the engine using a special rod (sold separately). There are slots on the rod, there can be from 7 to 9. That is, you need to know exactly which nozzle to buy, since it may not fit from one model to another.
When the cutters and discs are fixed with splines, the cutting bodies will move freely, you can loosen the soil to a width of 20-25 centimeters.
When choosing a nozzle, you must take into account the power of the trimmer. If the power of the device is not more than 1500 W, then only the already loosened soil will be processed. For example, you can only huddle potatoes.
The disadvantages of the design include the fact that it will not work to loosen the soil deeply. Only the top layer can be processed, and then if it has been plowed recently. On solid ground, such a cultivator attachment will simply "jump", it will not loosen the soil. And you won't be able to press it closer to the ground either, the bar will spring and bend, which will lead to breakage of the trimmer.
But still, sometimes it makes sense to purchase such a nozzle. Given its sometimes not a small price, many craftsmen decide to make a cultivator for brushcutters on their own.
DIY universal cultivator for trimmer
If there is a summer cottage, then the presence of a cultivator attachment will greatly facilitate labor when processing the soil (when working with a hoe, a lot of effort and time is spent). Special factory equipment is not cheap, which means that you need to start assembling the cultivator attachment for the brushcutter yourself.
The following is a simple example of how to make a trimmer-based cultivator. This will require the following tools and materials:
- grinder with discs for metal;
- drill complete with drills;
- welding machine;
- electrodes;
- hacksaw for metal;
- emery machine;
- garden pitchfork;
- steel tube for trimmer shaft;
- hammer, pliers, tape measure and more;
- Metal sheet.
Manufacturing begins with a loosening element. To do this, you need to bend the rods of the garden pitchfork. Their length should be about 15 cm.
Then a working nozzle is made. To do this, the forks must be flattened to a width of 1 cm, then the resulting cutters must be sharpened with emery. After that, cut out a circle of durable metal with a diameter of about 10 cm and weld cutters to it, best of all 3 pieces.
The next step is to attach the weeding cutter to the trimmer.If there is a reverse thread at the end of the trimmer shaft, then the resulting part is simply screwed on. It is enough to weld a tube with a nut to the cutter. That's it, the do-it-yourself trimmer ripper is ready.
Trimmer chopper
For many summer residents, weeding is a problem number 1. Especially if the site was acquired recently, and before that it had not been cultivated for a couple of years. And often gardeners dream of a mechanical hoe. It will not be difficult to make it if a trimmer is available. This attachment is attached to the trimmer according to the trimmer knife principle.
Making a hoe nozzle
Cut a circle out of a dense sheet of iron (preferably stainless steel), there should be a landing hole in the center, and holes must be drilled on the entire surface. Fix the sharpened bolts in them with a washer and a nut. It turns out a construction that resembles a hedgehog. It is with these very thorns-bolts that weeding will be carried out.
Advantages and disadvantages of the cultivator attachment
The trimmer cultivator attachment is becoming more and more popular with customers. Here are some of the benefits of this device:
- Easy to maintain.
- Perceptibly cheaper in comparison with the equipment for a motor-cultivator.
- Such a cultivator is simply irreplaceable for those people who have many greenhouses. With this device, you can quickly loosen the soil in the greenhouse and saturate it with oxygen.
- The design is very high quality, which makes it possible to use the cultivator for a long time.
- Protective shield. Protects operator from debris.
There are not so many disadvantages:
- Each attachment makes the structure heavier; with prolonged work, a person will feel tired.
- It is necessary to select a nozzle and a trimmer with the same connecting nodes.
- Due to vibration, it is often inconvenient to operate the trimmer switch button and hold a heavy unit on the weight.
Additional attachments
In addition to the cultivator attachment, there are many other accessories in stores that are mounted on the trimmer, these include:
- Drill. When installed on a petrol trimmer, you can work without electricity.
- Lopper. Works like a hacksaw.
- Gardening scissors. With their help, it is easy to trim bushes, trees and tidy hedges.
- Aerator. Breaks down the crust on the surface of the lawn.
- Pole cutter. With this attachment, you can remove branches up to 4 meters high.
- Snow blower. Designed to remove snow from garden paths and playgrounds.
The downside of all these useful attachments is their high price. Also, when equipped with any attachment, the trimmer weight will increase by 5-6 kg, not everyone will be able to work with such a tool.
To make your gardening easier, you need to purchase several different trimmer attachments. If the budget is limited, then tools for brushcutters can be made independently.
