Content:
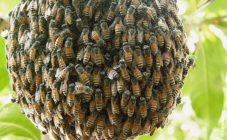
Spring is a time of care for the beekeeper. In addition to taking care of the apiary, you have to catch the swarms that have flown out. Perhaps someone will condemn such events and call them theft. But this is not at all the case. There is no theft here. There is an unspoken law among beekeepers - a swarm that has flown out becomes no man's. In addition, the bees that went on the journey will not survive on their own and will soon die. Therefore, experts begin to prepare traps from different materials. Experienced beekeepers make them even from a regular bottle. For beginners, this article will be a hint.
Bottle bee trap
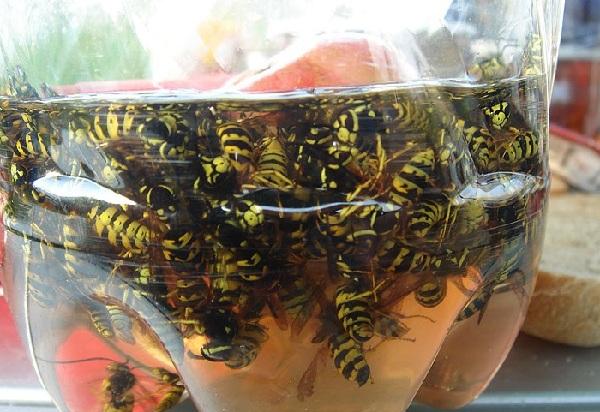
The bee trap is very quick and easy to do. This is a structure for the temporary stay of insects in it. The simplest and fastest model to make is a plastic bottle trap. It is suitable in case the beekeeper does not have a box at hand. In addition, such structures serve to catch harmful insects in them, both in the apiary and in the vineyards. To make it, you need a bottle with a capacity of at least one and a half liters.
The construction is being prepared as follows:
- The cap is removed, the upper part is cut from the bottle in such a way as to form a cone. Flip down with the neck and inserted into the remaining bottom part. With the help of a similar design, wasps are caught, but the difference is that only some bees climb inside the bottle, in most cases the swarm simply sticks around it outside.
- Holes are made at the top of the lower part of the bottle, a wire is threaded through them and a kind of handle is made of it to hang from a tree branch.
- There is no fastening between both parts of the bottle, since it will have to be opened.
If you attach the bottle with tape to a tree, the structure will become immobile even in strong gusts of wind. The trap works as follows:
- Pour a little liquid into the bottle, which will attract insects, while remembering that in no case should it reach the very neck of the cone.
- Insects attracted by the sweet smell of the bait will fly into the funnel, but will not be able to fly out of there. Crawling along the walls of the bottle, they will bump into an obstacle.
Where to hang a bee trap
Making a do-it-yourself bee trap is half the battle, the main task is to install it. The best place for her would be an area where a large number of honey plants grow. At best, this is the edge of the forest. In no case should the structure be hung near the swamp. In addition, you should not hang it near power lines, since electromagnetic waves have a negative effect on bees. It will be best to hang the trap on a tree on the side opposite to the sun, and you should not hide it in the foliage.
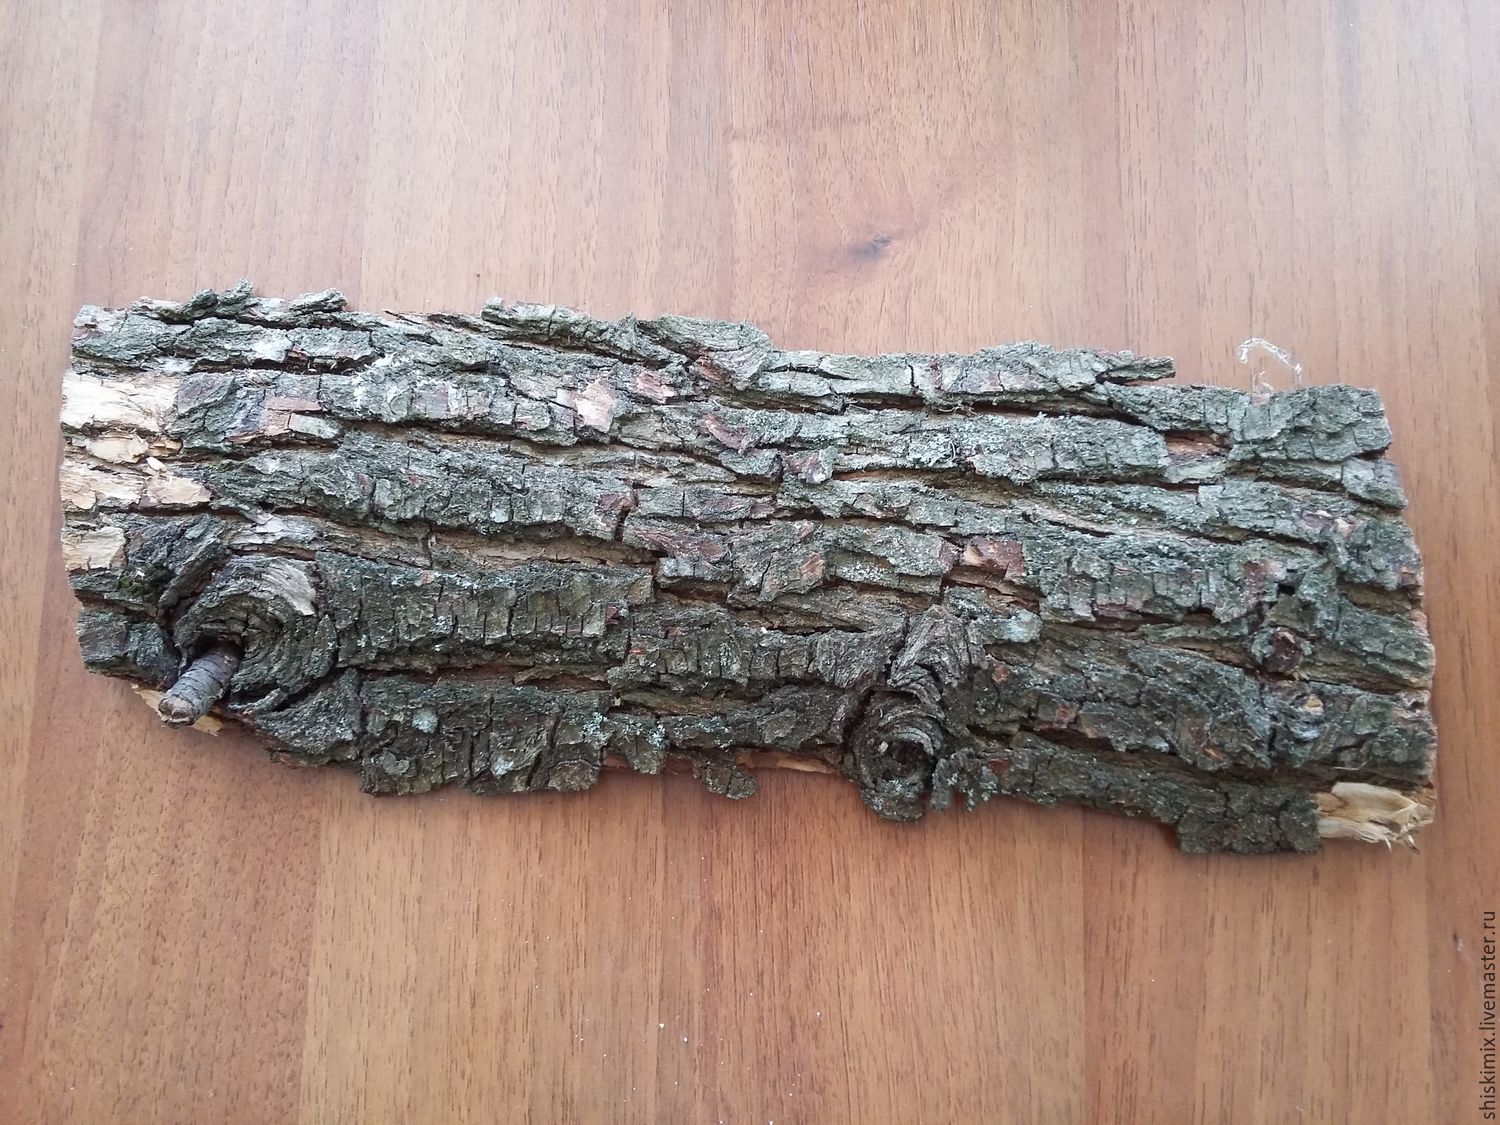
Masking the feeder, you need to put a small piece of bark on its roof. It is best to choose a tree of such species as:
- Oak;
- Birch tree;
- Pine;
- Plum;
- Pear.
In no case should you choose poplar, since its fluff clogs the respiratory tract of insects.
How to transplant bees from a trap
After the insects have settled into the trap, you need to know how to transplant the swarm into the hive from the trap to a permanent place, before that, the structure is closed and carefully transported to the apiary. This is followed by the process of fully completing the hive in which the new family will settle. Only then are the bees moved into a new home.
It is necessary to resettle the bees on a day when there is no wind and the weather is sunny and calm. It is at such a time that insects behave calmly and do not show aggression. In no case should they be resettled immediately upon arrival at the apiary. To begin with, they are placed in a cool place for several days, where the bees will calm down, only after that they are transferred to the hive.
To do this, remove the lid of the trap and examine the hive to make sure there is a queen. Then the frames of the trap are examined, the bees are gently shaken off into the hive, the frames are set aside. The frame on which the uterus sits must be placed in the hive. Then shake off all other bees and close the lid of the hive.
How to make a trap yourself
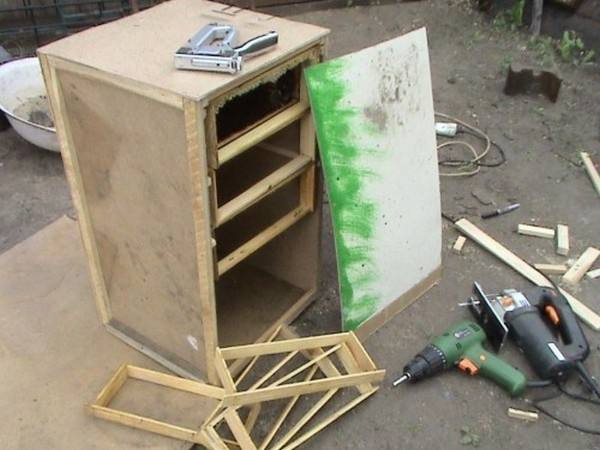
For beginner beekeepers, it is recommended to start with a simple plywood construction, with a capacity of forty to sixty liters. It should be noted that there is no need to make large boxes as the trap is a temporary shelter for the bees.
For a simple trap that even beginners can use, a drawing is made, according to which the dimensions of the structure are determined. Building materials must be purchased at the market or in a store. In this case, for the frame, you can take slats, which in the section have twenty by twenty millimeters.
Most of the drawings recommend taking bars with a large section, but this is not worth doing. In order to understand what materials are needed, you need to carefully study the drawing. Then a diagram is drawn on the cardboard, blanks are cut out and the markings are transferred to the material. You can make the structure as follows:
- The frame of the future trap is made from the slats.
- In the blank, which will serve as the front wall of the trap, you need to make a hole that will become a bee entrance. They do it by drilling several holes in one line, then connecting them together.
- A valve must be attached to the hole so that insects can be safely transported later.
- The frame is sheathed with plywood from all sides.
- Finally, a lid is being made, which should be removable, so its slats should overlap the walls of the box.
- Frames are set in the trap.
In order for the trap not to suffer from moisture, its surface must be coated with paint or varnish. The smell will disappear in a few days. Frames are trapped, which have already darkened from time to time, since it is to them that bees react most. In addition, the walls of the trap should be waxed to enhance the odor for the bees.
What materials to use
To make a trap for a standard frame, you will need the following materials:
- Plywood sheets with a thickness of four millimeters;
- Wooden bars;
- A small piece of canvas;
- Small plates, which are twenty centimeters wide and two centimeters thick;
- Nails;
- Pins with a diameter of four millimeters;
- Roof insulation material;
- Styrofoam for trap insulation;
- Glue.
Making a trap from these materials is done as follows:
- The bottom of the box is made from the boards;
- The front and back walls are made of plywood sheets;
- The hole for the taphole must be made for only one insect;
- The walls are attached to the finished bottom;
- The side bases are reinforced with wooden bars;
- Finish covering the trap with plywood;
- Then it is necessary to attach the rails inside the walls, on which the frames will be attached;
- The lid is made of plywood, while it should be no more than one centimeter larger than the box itself;
- Along the edges of the lid, you need to install rails to seal the lid to the box;
- Styrofoam is glued on the inside of the trap to insulate it;
- The outer part of the lid is covered with a material that does not allow water to pass through;
- Handles are attached to the structure, with which you can transport it.
Frames are set in the trap and the walls are rubbed with propolis.
Making a trap with your own hands is a simple matter that even a beginner can do. To do this, you need to have a drawing and the necessary materials on hand. After this, the structure must be installed in the correct place and checked regularly.
