Content:
Apricot is a delicious and beloved fruit that smells of the sun, warmth, as if it came to us from childhood. The unique sweet taste, delicate honey aroma always attracts gardeners, as if they are fascinated to try all new methods of growing apricot.
As you know, the apricot tree is a heat-loving plant that does not tolerate frost and temperature changes. But over time, thanks to the work of breeders, many varieties were bred, adapted to the required climatic conditions and soil characteristics. Thus, apricots are successfully grown not only in the southern regions of the country, but also in the middle lane, the Moscow region and even in the Urals.
Benefits of planting apricot from seed
There is a large selection of ready-made seedlings - zoned, prepared for growing under certain conditions. But, despite such opportunities, gardeners often face the problem of how to grow an apricot from a stone.
And, it seems, why such difficulties? After all, growing a sprout from a seed is a rather painstaking task. In addition, often such works are not crowned with success - it is not always possible to germinate a viable seedling.
But experienced gardeners say there are certain advantages to growing an apricot from seed:
- A self-grown seedling undergoes natural hardening. By the time of transplantation, it is already adapted to the peculiarities of climatic conditions, resistant to most diseases and pests.
- The seeds can grow completely new varieties of apricots, unlike their parents. This is just a godsend for those who like to experiment.
- Growing a seedling yourself is a good opportunity to save money. Although apricot trees are not very expensive, they will need at least 3-4 pieces for good pollination. In addition, purchased seedlings do not always take root easily - they may die.
Often, gardeners are tormented by doubts whether an apricot grown from a stone will bear fruit. Yes, it will, subject to the main principles of care, the presence of pollinators. Another very important plus of such cultivation is that fruiting occurs with almost one hundred percent probability. In addition, the fruits from such a tree are in most cases larger and better than their relatives.
How to grow an apricot at home
It is quite possible to grow an apricot at home using a flower pot. But when deciding to grow this fruit tree at home, you should understand: the sprout obtained in this way, most likely, will not be as viable in the outside world as its counterpart grown in the open field.
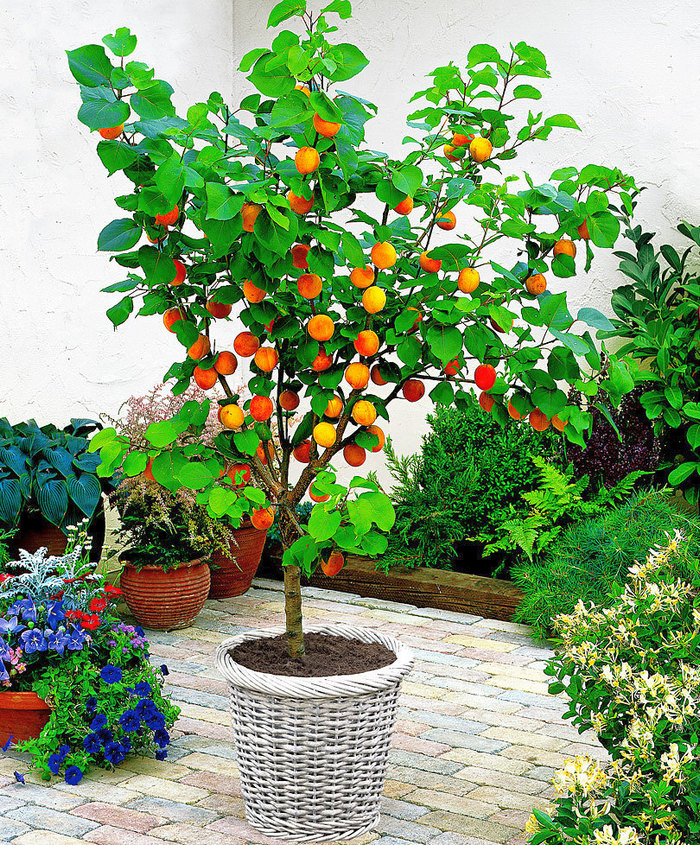
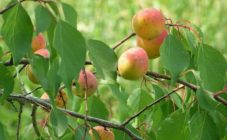
But the apricot tree will become a real exotic home decoration. It can grow up to one and a half meters and delight with delicious fruits.
How to plant an apricot from a stone at home - step by step instructions:
- Landing time. The seed planting period may differ, depending on the purpose of the future seedling. If the sprout will be transplanted into open ground, the seed should be planted in the spring, after preliminary preparation (hardening, stratification). For planting an ornamental plant, fresh seeds can be used and this process can be started in summer.
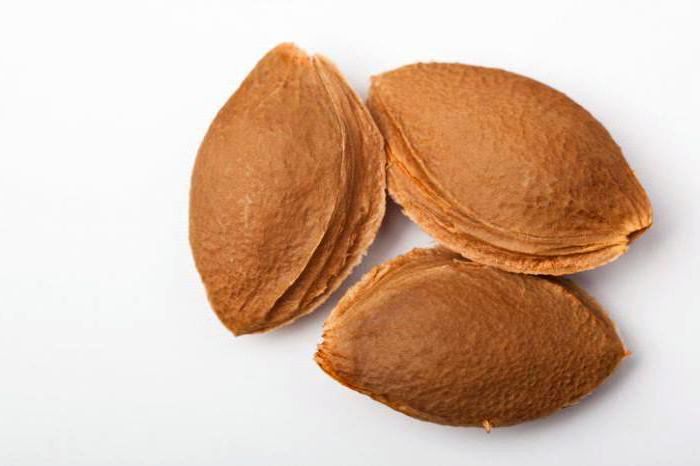
- Culling of planting material. For the correct selection of quality seeds, you should check them for germination. To do this, the bones are carefully selected from the pulp, washed well, and poured with warm water. The seeds capable of sprouting will fall to the bottom, the pacifiers will float up.
- Preparing seeds for planting. First, the bones should be kept in a solution of potassium permanganate for up to 15 hours. After disinfection, the planting material is soaked in warm water for two weeks. In this case, the water should be changed every day. This procedure allows the seed to germinate faster.
At this stage, the preparatory work for planting apricots for home use is over, you can proceed to the planting stage. If the sprout will be transplanted in the country, it is imperative to carry out a hardening procedure - stratification.
Stratification. This method of stabbing can be performed both before and after planting.
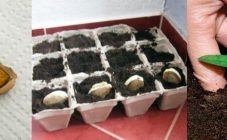
- Presowing stratification. The seeds are mixed with wet sand, tightly closed in a plastic container and placed in a cool place for three months, preferably a refrigerator.
- Post-sowing stratification. The bones, planted in pots with sandy soil, are wrapped in cling film, which is pierced with a toothpick. The containers are placed in the cold for a similar period. The temperature for hardening should be constant and maintained in the region of 0-2 degrees.
- Emergency stratification. Held a few days before landing. Dry bones are poured with ice water for 4-5 days in a row, placed in wet sand and kept at temperatures up to 3 degrees until April.
As a result of exposure to low temperatures, most of the bones will die. But those that pass this test will be ready for any weather conditions.
Planting seeds. It can be conditionally divided into several stages:
- Soil preparation. You can prepare the soil yourself: mix fertile soil with sand and ash, or purchase a peat mixture;
- A drainage ball is placed in the pot at the bottom - sand with small stones. Filled with prepared mixture;
- Bones are planted - three pieces in one container to a depth of 5 cm.
- The soil is well moistened, covered with a film to create a greenhouse effect.
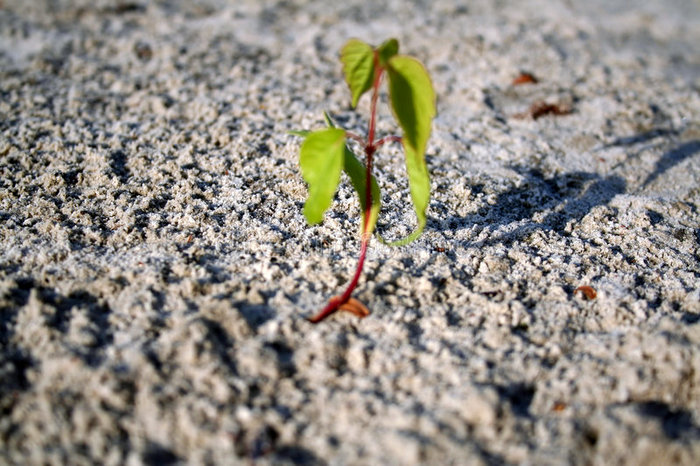
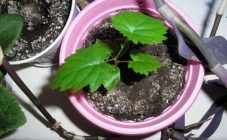
Sprout care. After the germination of the sprout, the film is removed, taken out to a sunny warm place - up to 25 degrees. Water the plant regularly, loosen the soil, watch how it grows.
How to grow an apricot from a stone in the open field
Experienced gardeners prefer planting seeds directly into the ground. This method gives several advantages: a young tree, immediately adapted to climatic factors, soil characteristics.
The process of planting and care itself is not too complicated and in many respects coincides with growing in pots: culling, disinfection, and soaking are also carried out. But there are a few differences to keep in mind.
Step by step guide:
- Planting is recommended in late summer or autumn - then the bones undergo natural stratification. Moreover, the closer to winter the grains are planted, the less likely it is that they will be eaten by rodents.
- The land plot is being dug up. Grooves are made, which are lined with sand or straw. Bones are planted, covered with soil - an approximately 5-centimeter ball. Compacted well.
- Watering is in progress.
- If the planting is carried out in the spring, then in the winter it is imperative to make a stratification.
Sprout transplant
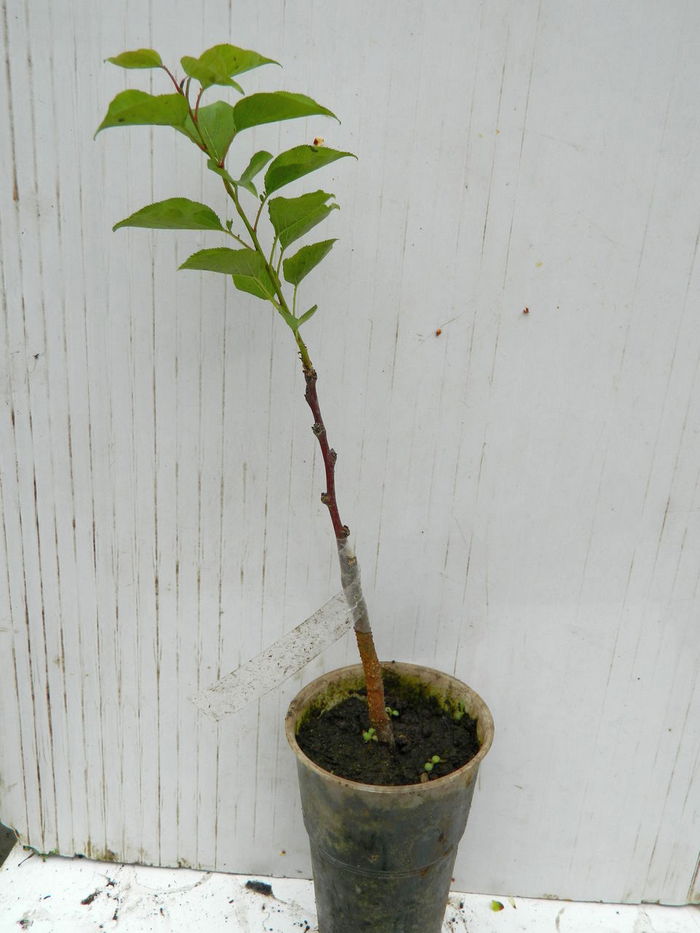
Transplanting the seedling should be done the following spring after planting. It is necessary to determine due attention to the place for growing the apricot. The tree loves a sunny, draft-free place, with non-acidic soils that are not prone to sticking. Plots with light sandy loam deserve preference.
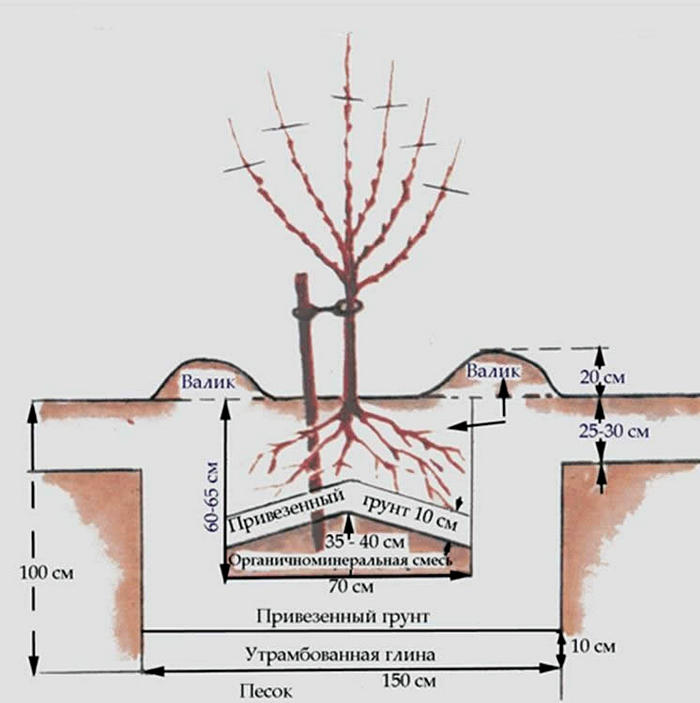
A few days before disembarkation, a hole is dug, measuring 50 * 60. Drainage is laid at the bottom. The excavated soil is mixed with humus, ash. A tree is planted, carefully covered with earth. It is rammed.A small mound should form. A small groove is dug around the tree, into which water is poured.
Depending on how the apricot grows, it can be fed:
- Nitrogen fertilizers;
- Potassium phosphate fertilizers.
Gardening tips
Based on their own experience, gardeners recommend planting seeds of local varieties of apricots or varieties adapted for cultivation in Siberia, in the Urals - they will have a better chance of taking root. In addition, when planting seedlings, you can use a proven method and graft branches. It is necessary to replant seedlings at stable temperatures, when there is no threat of frost.
Despite the seeming complexity of growing such a demanding plant as a pitted apricot, it is quite an exciting activity that can give a good tree, excellent fruits and a wonderful mood from the realization that the work was done for a reason.
